If you are fortunate enough to have received a candy lei then you know first hand what a thoughtful gift they are. Not only are they filled with delicious candy that you can eat over an extended period of time, or a very gluttonous 20 minutes, but as they are often homemade it’s a gift that someone took the time to make for you. Time is one of the most precious commoditities so when you take time to make something for someone, you are really showing how much you care.
Candy lei’s are commonly given at graduation ceremonies but there is no reason they need to be limited to such rare events. They can be given at any event or for any reason that you deem fit. One sentence no one has ever uttered is history is, “I sure wish I wasn’t given this candy lei.”
The great thing about these unique leis is that they aren’t very complicated to make at home. With a little time and a little effort, you can be churning out candy leis for all your loved ones.
Like many homemade things, there are a multiple way of doing so, and no one way is the right way, but below we’re listed steps we think make this endeavor the easiest.
Step One – Candy Shopping
Decide what candy you want to use. Small halloween sized candy seems to work great but it’s possible and certainly been done with normal size candy bars. You can even go as small as bite sized candies, really there aren’t many limits here.
You can stick one type of candy to create a uniform look or mix it up. This is entirely up to you and the options are literally endless.
Budget tip: If you find yourself making a lot of these, go shopping the day after halloween and stock up. That candy lasts for a considerable amount of time!
Step Two – Gathering Materials
Gather your materials. Again there are tons of great ways to do this but this is following what I find to be quickest and easiest. I encourage you to add to this and make the candy lei as decorative as you’d like.
Materials Needed:
- Candy
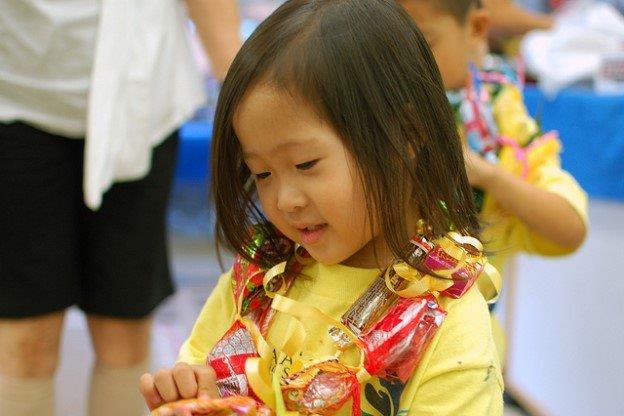
- Plastic wrap (as you can see in the photo above, you can also use plastic netting)
- Scissors
- Ribbon
Step Three – Assembly
Start with pulling out a pieve of plastic that is approximately the length of what you want your final product to be. For kids you’ll want to be about three feet long for adults five or six.
Place the plastic across a large table or on your floor. Now you’ll add the candy. Put one or two pieces together all along the length of the plastic. Be sure and leave about an inch of space between each piece of candy.
Now you’ll want to roll the plastic wrap around the candy so you end up with a very long piece of plastic with candy insdie.
Next you;ll tie a peice of ribbon between each piece of candy to keep the candy in place and give the lei a nice look.
Bonus tip: Using scissors you can curl the ribbon. Place ribbon between thumb and blade of scissor (careful!) and pull up the string. It will then curl up nicely.
After you’ve tied ribbon between all candy pieces all you have to do is tie the two ends of the lei together.
You now have yourself a homame candy lei, it really is as easy as that.
We’d love to see your homemade candy lei. Hash tag #alohaislandlei on instagram so we can wee what you’ve made!
Videos
There are also some great videos online on how to make a candy lei. Here are some of our favorites.
How to make a Hawaiian Candy Lei
How to make a Hawaiian Candy Lei – by Morgan Sky